Knowing that this project would involve a lot of tricky modelling and painting - to the point of tediousness in some cases - I ran this project in parallell with the Dorniers so as not to discard it in disgust halfway through. At some point, the project got a life of its own, however, and in spite of myself I found that the project had become an obsession. The Dorniers were left aside as all my spare time and effort - which was not much, as we started a major refurbishment project in our house at a point - was devoted to finishing these aircraft.
Hopefully, the length of the post will not put you off. Enjoy, and, particularily in this case I must say, comments are always welcome!
***
A couple of years ago, a Norwegian military history magazine had an article about the air combats near Oslo, the Norwegian capital, on the 9th of April 1940. Ever since, I have been determined to write a scenario about one of the episodes, when five Gloster Gladiator biplanes of the Norwegian Air Force squadron 'Jagevingen' (sic) bounced eight Bf110cs over Oslofjorden.

The Gloster Gladiators were ordrered (along with their opponents, eight Bf110cs) on November 24th last year, and delivered January 25th this year. Although Christmas undoubtfully caused some delay, this was not the first time it took weeks to get items from this UK based supplier, Raiden Miniatures.
As usual, the miniatures arrived in individual ziplock bags, along with an unexpected bonus - assembly instructions! Though the line drawings did not clearly show the positioning of the underwing gun pods, the written instructions were deeply appreciated.
Despite long delivery times, I keep ordering from Raiden for a number of reasons. First, their web site and web store is easy to use, the prices are good and the quailty is fabulous. Second, while not all the models are perfectly symmetrical - the Gladiator falls into this cathegory - Raiden's sculptors have a knack for carrying an aircraft's lines and personality into 1/300 scale. Their sculps inevitably feel right when you look at them.
When ordering from Raiden, expect very good quality at decent prices - though do count on it taking some weeks - or months - for your miniatures to arrive. Having learned my lesson, I now place orders while I still have one or two unstarted projects in queue.
Raiden miniatures:

Cor blimey, what a lot of bits!
Each Gladiator is made up of the main body, the upper wings, right wheel, left wheel, two gun pods for the lower wings and (oh joy) a piece of wire - to be cut into struts.
My first attempt at air combat wargaming was with World War I some years ago. The painstaking work required to assemble lumpy 1/300 biplanes was what turned me decidedly away from that hobby and straigth into the wondrous world of World War 2 streamlined monoplanes. Thus, the assembly of five Gloster Gladiators was something I regarded with a fair bit of trepidation...

The struts, one piece of wire per plane to be cut into eight struts. Fortuneately, the fellow who wrote the instructions seemed to know his trade well - by using flexible wire, the struts can be fixed with superglue in roughly the right positions to begin with - then they can be adjusted by dry-fitting the top wing and bending the wire once the glue has set. The strut holes are actually clear and present, something which could not always be said for the WWI castings I fumbled with back in the day.
The instructions, along with the high quality of the Raiden castings, meant that I now only felt scared of assemblying all five models - as opposed to feeling scared of assemblying even one, like I did when they arrived.

Day of delivery: Project start - Dremeling out the hole for the supermagnet.

Due to the bulky nature of my flight stands coming in conflict with the fixed landing grear, I had to drill the magnet hole further back on the fuselage than the hole in the casting.

Five days after project start, and I sat down to spend 30 minutes of my life cleaning this? It was clearly nature's way of telling me 1/300 scale biplanes are not good for my health. The tiny bits are landing gears and gun pods. Seriously, I carved larger pieces off than what remained in the bowl...
Probably due to the very small, fiddly and oddly shaped components, these were the Raiden castings I have received that required the most cleaning up. That being said, the amount of flash and molding lines was not exactly daunting, and the time required was due to the size and shape of the components rather than casting deficencies.


 Cutting struts. 25 minutes. What??
 Most of the assembly work required tweezers due to the tiny components. In order to hold the struts until the superglue set, I found that small blobs of green stuff squeezed into the holes worked well.
 Mounting struts. 55 minutes!


 Total time for this assemblying nightmare marathon: Nigh on 3 hours. That is for five aircraft, and I had yet to attach the upper wings! Yup, I will definitely think twice before assemblying another biplane in 1/300 again! Still, my spirit was unbroken, and I'd have forged right ahead the same evening had it not been for the need to let the superglued upper wings cure completely before trying to align the struts with the lower wings. To paraphrase our king, anything for Norway...
Some days later, the shock had worn off. It was time to attach the top wings! A little careful bending of the struts later, and...


 Several days later, I got to sit down with the planes again. The first thing I did was finish the silver coat on the "regular" Gladiators. Then I painted up Gladiator 433.
433 had been at the forefront of my mind ever since I ordrered these miniatures. While 11 out of 12 Norwegian Gladiators were painted in the peactime matte silver and national colours, in January 1940 Gladiator 433 was painted in an experimental camouflage pattern suggested by a Norwegian Army Air Force staff officer.
Very little information exists about this pattern, so I was left with guesswork.


The next evening: Silent before the storm. A few minutes with soapy water and the old toothbrush, and the Glosters were ready for assembly...

...and every little bit of terror I imagined suddenly turned to reality. Let me just guide you through the process, and you can see the full horror of it yourself. Assemblying wing gun pods - 35 minutes.


A moment of respite. Greenstuffing the original flight stand attachment holes from the casting. 3 minutes...

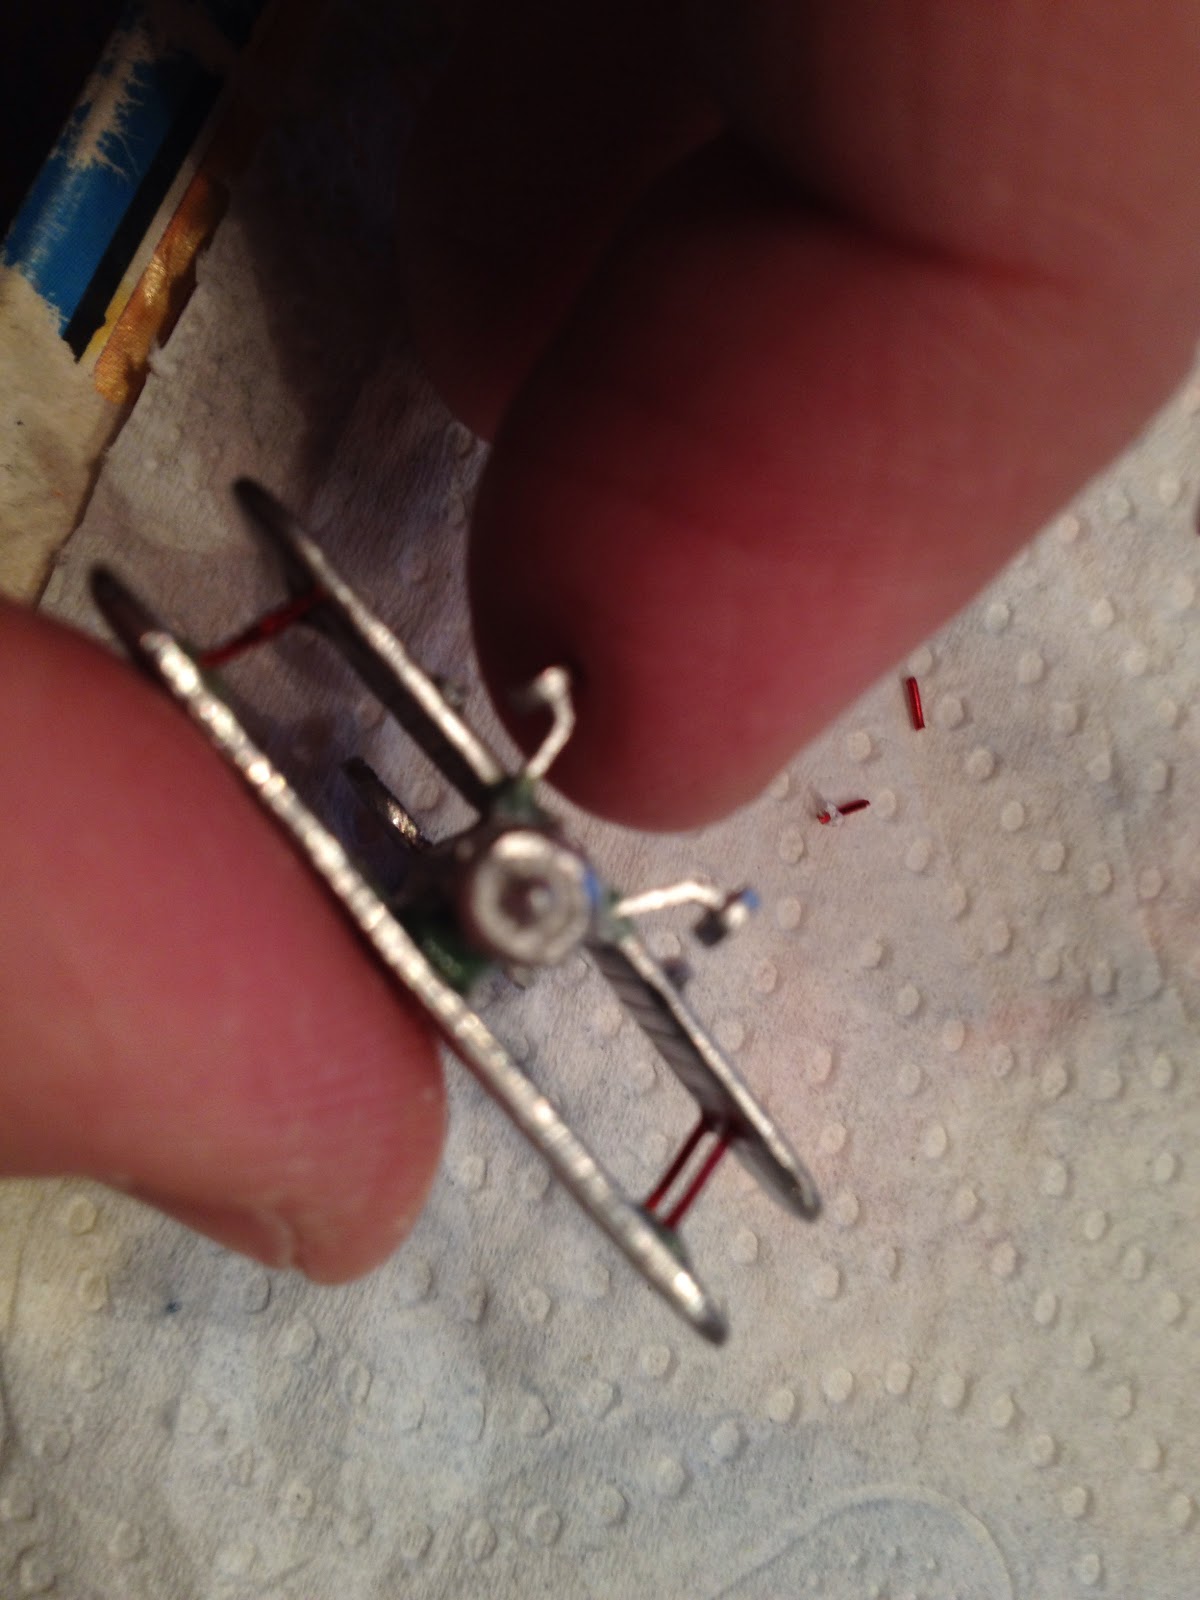
The mind-numbing tediousness of it all made me forget to take a photo of the wheels attached stage. That took 30 minutes. This image is the end of day status, after spending yet another 30 minutes to reinforce the landing gear using green stuff.

Some days later, the shock had worn off. It was time to attach the top wings! A little careful bending of the struts later, and...

Fcuk.
As it turned out, while the long struts remained flexible enough to adjust carefully, the short struts were too stiff due to their short length (2.5 mm) and snapped when I tried to nudge them into position. "Well," I thought, "This seems a bit wobbly, and I intend to game with the dang things."
So who you gonna call?

Green stuff!
Scoring the area in front of the canopy to provide better hold, I resorted to a trick used frequently by less reputable manufacturers of 1/300 biplanes. If you can't make struts, bugger the things and fill the gap with a nice, solid chunk of stuff instead.

Now that was more like it! From the "gaming view," the blob was hardly visible. Furthermore, the miniature was made more robust (necessary when gaming blokes are to fumble with tiny planes perched on flying stands) and my sanity preserved. This was a rather calm and composed evening, even though it took me around an hour to attach all five top wings. After all, not only did I have to smooth over the green stuff work on the landing gear before attaching the top wing, I also had to remove all the superfluous centre struts and superglue as well!
Yes, it might be an ugly lump once you turned the plane onto its side - though in hindsight, this was the only practical solution for me, what with the model being intended for gaming after all.
Even though I did not manage to attach the centre struts like the assembly instructions detailed, I still have a special place in my heart for whomever wrote the instructions:
"Once in place, add lots more super glue to make it as secure as possible."
One cannot fault logic like that!

Jagevingen flies again!
It was extremely pleasing to be done with assembly of these models, something that I had been dreading ever since I placed the order for them - and rightly so, as it turned out.
All in all, assembly ran to a mind-boggling 5 hours for 5 miniatures!
That being said, I did not regret it at all - the miniatures looked smashing, and I could not wait to get them undercoated.

After the last image, we started refurbishing the kitchen - so it was a week before I got another opportunity to sit down with the miniatures again. Additionally, now that the worst bit (assembly) was out of the way, I felt like I could afford to step down the intensity of work with these aircraft. Strictly speaking, they were intended as a side project to run parallell with whatever other project was ongoing at the time, and at the time that was the Dorniers. Thus, after the primer was applied to the Gladiators I turned to the Dorniers for the time I had left that evening.

Side project. Right. The very next night I sat down and gave them all a coat of Citadel Colour Boltgun Metal, painted the engine cowling in Citadel Colour Brazen Brass and the tires Citadel Colour Chaos Black. Some seldomly used paints just seem to last forever, I still have a pot of Citadel Colour Ultramarines Blue that I got when I was 12...

Here you can see the canopy, painted my "standard" Vallejo 943 Grey Blue and Vallejo 907 Pale Greyblue. Also, before hitting the sack, I just had to give one of the planes a dry(ish)brushing with Citadel Colour Mithril Silver to get the "final" colour - here is a before and after picture, with after being to the right. Admittedly, Jagevingen used a matte silver to avoid reflections - yet the images I have seen looked quite bright and the satin varnish I persist in using would ruin any matte effect anyway.
Seeing as the area was hard to get at and would at any rate never be seen in a game, I chose to not brush the underside of the top wing silver. The colour difference was not so marked when not in the camera flash, all it really ended up doing was to leave the area appropriately shadowed.
All that would remain after brushing silver on the other aircraft was to add national colours and aircraft ID numbers! That is, with the exception of Gladiator 433...

433 had been at the forefront of my mind ever since I ordrered these miniatures. While 11 out of 12 Norwegian Gladiators were painted in the peactime matte silver and national colours, in January 1940 Gladiator 433 was painted in an experimental camouflage pattern suggested by a Norwegian Army Air Force staff officer.
Very little information exists about this pattern, so I was left with guesswork.

In addition to two black-and-white photographs showing the aircraft from the same side, this was the only written description I was able to find:
"On the experimental aircraft, Gladiator 433, areas of the wings and fuselage (the dark areas) are partially covered with brown-green (khaki) and grey, wavy lines that blend into one another. The remainder of the fuselage sides and bottom (the light areas) are painted in a mix of matte silver and light blue, intended to make the aircraft as inconspicuous as possible when seen against the sky. Areas of the top of the wings (the light areas) are instead painted grey or grey-green." (Cato Guhnfeldt - Fornebu 9. April, published by Wings, Oslo, 1990).
Leave that description with a roomful of model kit builders, and I would dare you to find two similar models once they were done...

One week later, a lot of fiddly painting ensued. First, the inner line was painted using Cidadel Colour Regal Blue. Then the middle lines were painted using Vallejo 907 Pale Greyblue, before finally the outer lines were doine in Citadel Colour Mechrite Red. This took a while, let me assure you...

Though my freehand technique is hardly perfect, I was extremely pleased with the result. The effect of the national colours was striking, and completely transformed the planes.

Gladiator 433 had the national colours as a band around the fuselage only.

A picture of the aircraft of Jagevingen in "sveit," the contemporary Norwegian word for formation. As you will hopefully agree, the aircraft look smashing when viewed together (and at "gaming distance!").

Next day: A picture of the finished sveit, complete with aircraft identification numbers. Note that Gladiator 433 (in camouflage) has tiny numbers at the rudder only. These aircraft are now accurately marked like the aircraft in action over Oslofjorden April 9th 1940. The sveit is set up on the cover of the book that has served as my primary source of information and motivation, in the formation used prior to the attack on the German aircraft.
From left to right (of formation):
433 - Fenrik Thorsager (=2nd. Lt.)
425 - Sergeant Waaler
429 - Lieutenant Tradin (sveit leader)
427 - Sergeant Schye
423 - Lieutenant Krohn
Well, this was some project all right! The aircraft have taken time completely out of proportion to their number, though I am extremely pleased with the result. Colour palette will be posted later, and the aircraft used in the April 9th scenario I am planning.
Whether I can finish the Bf110Cs in time to run an anniversary game this year remains to be seen, there are 11 unfinished Do17z in queue before them... and for the scenario I would really like to have a squadron of He111s available as well, which looks kind of unrealistic at the moment, really.
It has been a quiet period, blogwise, as my updates have been bundled into this post and my spare time consumed by refurbishing. It looks like this migh hopefully be done soon, though, so look forward to some -hopefully more regular - updates on the Dorniers in the near future!
They look damn good! They should make Norway proud by gunning down some 110's I think.
SvarSlettThanks, I appreciate it :)
SvarSlett